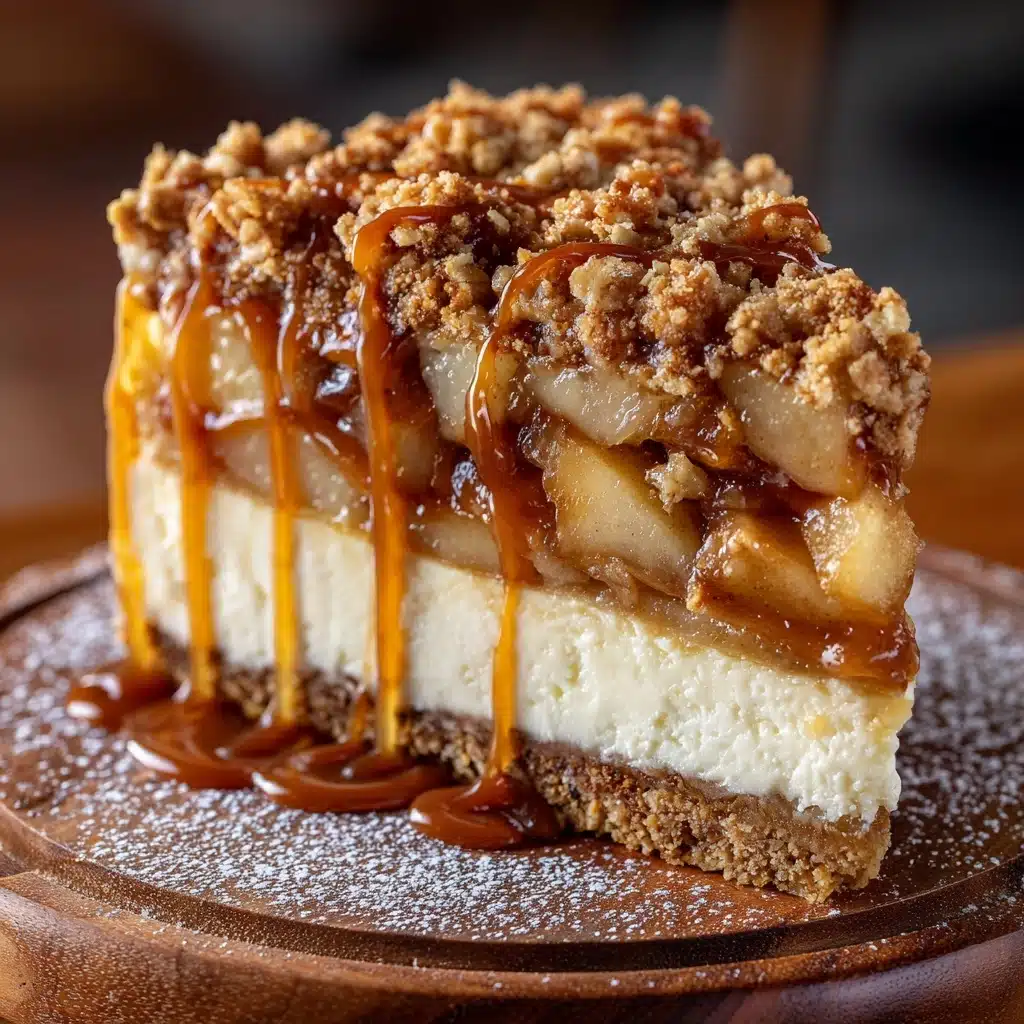
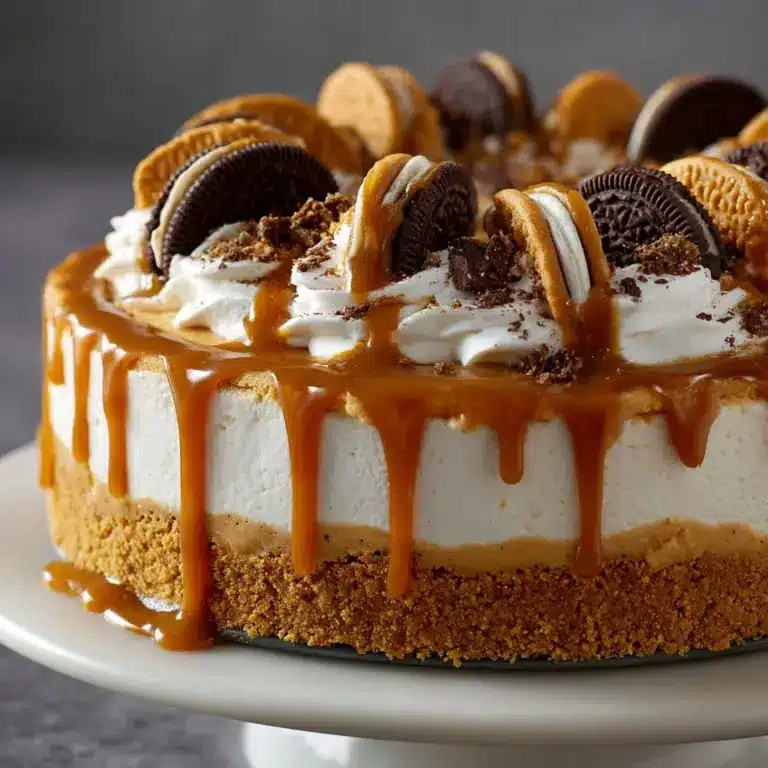
Salted Caramel Apple Pie Cheesecake Recipe
Let me introduce you to a dessert that feels like a warm hug on a crisp autumn day: Salted Caramel Apple Pie Cheesecake. This luscious creation blends all the best parts of classic apple pie and creamy cheesecake, then finishes with a decadent swipe of silky salted caramel. Imagine a buttery graham cracker crust, a dreamy cheesecake base infused with vanilla, a spiced apple pie layer nestled on top, and a golden drizzle of caramel tying it all together. Whether you’re prepping for the holidays, a family gathering, or just craving something special, this showstopper is guaranteed to steal the spotlight and make memories with every slice.
Ingredients You’ll Need
Making Salted Caramel Apple Pie Cheesecake is wonderfully straightforward, but every ingredient truly counts—each one brings its own texture, color, and irresistible flavor. Let’s run through what you’ll need and how these simple staples create something unforgettable.
- Graham cracker crumbs: The graham base sets the tone for every bite—extra buttery crunch paired with a light sweetness.
- Granulated sugar: Used in both the crust and cheesecake layer, this boosts sweetness and helps form structure.
- Unsalted butter: Melted into the crust, butter brings rich flavor and holds everything together.
- Cream cheese (softened): The star of the cheesecake—make sure it’s room temperature for silky-smooth blending and zero lumps.
- Eggs: They bind the filling while giving it that signature creamy and airy texture.
- Vanilla extract: Adds warmth and rounds out the sweet, complex flavor profile.
- Sour cream: A surprise twist for ultra-smoothness and a perfect tang that balances all the sweetness.
- Apples (tart, like Granny Smith): These add juicy bites and balance the cheesecake’s richness; tart apples hold their shape beautifully!
- Brown sugar: For the apple layer, supplying a caramel-like sweetness that deepens the apple pie vibes.
- Butter (for apples): Sautéed apples need a bit of fat for silkiness and to carry spices.
- Cinnamon & nutmeg: These spices make the kitchen smell oh-so-inviting, bringing warmth and nostalgia.
- Pinch of salt: Just enough to wake up all the flavors—crucial for balance!
- Salted caramel sauce: Both mixed in and drizzled on top, this is pure magic; for homemade, use your favorite recipe or store-bought for speed.
- Flaky sea salt (optional): Adds a sparkle of flavor and texture as a final flourish for anyone who adores that sweet-salty combo.
How to Make Salted Caramel Apple Pie Cheesecake
Step 1: Prepare the Crust
Preheat your oven to 325°F (163°C) and lightly grease a 9-inch springform pan. In a medium bowl, combine graham cracker crumbs, granulated sugar, and melted butter. Stir until all the crumbs are coated and look like damp sand. Press the mixture firmly into the bottom of the pan, making sure it’s even and snug—this ensures every slice has that glorious crust. Bake for 10 minutes, then let it cool while you start on the other layers.
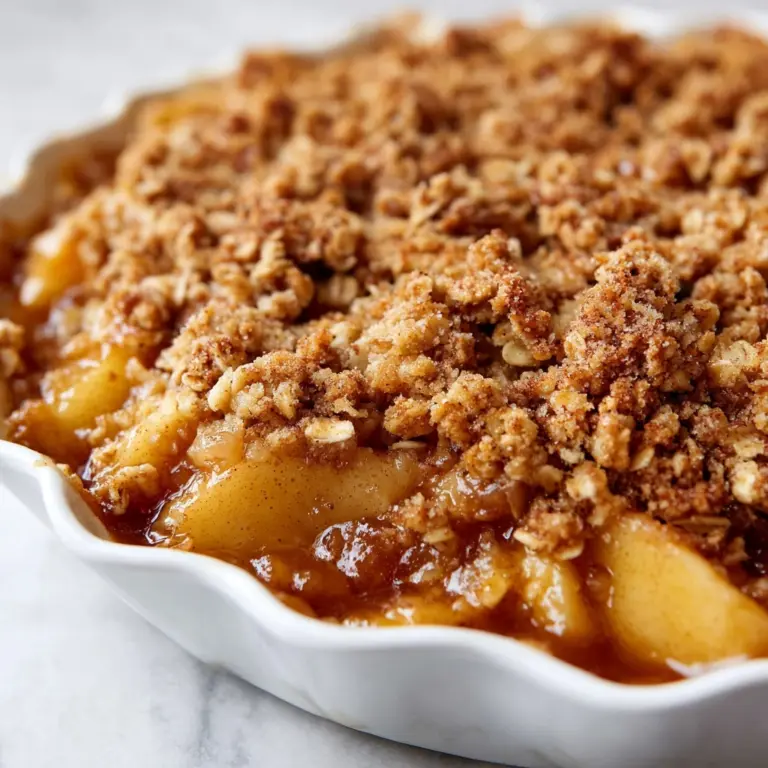
Step 2: Make the Apple Pie Layer
Grab your peeled, cored, and diced apples and set them aside. In a skillet set over medium heat, melt the butter, then add the apples, brown sugar, cinnamon, nutmeg, and a pinch of salt. Stir everything together and cook for 5 to 7 minutes, just until the apples are softened but still hold their shape—think tender, not mushy. The smell alone will have everyone peeking into the kitchen! Once done, remove them from the heat and let cool to room temperature.
Step 3: Mix the Cheesecake Filling
Using a large mixing bowl, beat the cream cheese until smooth and creamy—no lumps allowed! Add the granulated sugar and continue beating till the mixture becomes fluffy. Beat in the eggs one at a time, scraping down the bowl as needed so everything gets evenly incorporated. Blend in the vanilla extract and sour cream, giving your batter that signature velvety texture. Make sure all the ingredients are fully combined, but don’t overmix.
Step 4: Layer and Assemble
Pour the cheesecake filling over your cooled crust and smooth the top with a spatula. Now, gently spoon the cooked apple mixture evenly over the cheesecake layer—don’t press them in; just let them nestle right on top. The flavors will meld together beautifully as it bakes. The cheesecake will look rustic but elegant, and the apples might peek through, promising what’s to come.
Step 5: Bake to Perfection
Slide the pan into your preheated oven and bake for 50 to 60 minutes. You’re looking for the edges to be set with a barely wobbly center. Once baked, turn off the oven, crack the door, and let the cheesecake slowly cool inside for 1 hour—this gentle cooling prevents cracks.
Step 6: Chill Thoroughly
Once the cheesecake has cooled in the oven, take it out and chill in the refrigerator for at least 4 hours, or overnight if you can wait! This step is crucial: it ensures your Salted Caramel Apple Pie Cheesecake sets properly and slices cleanly.
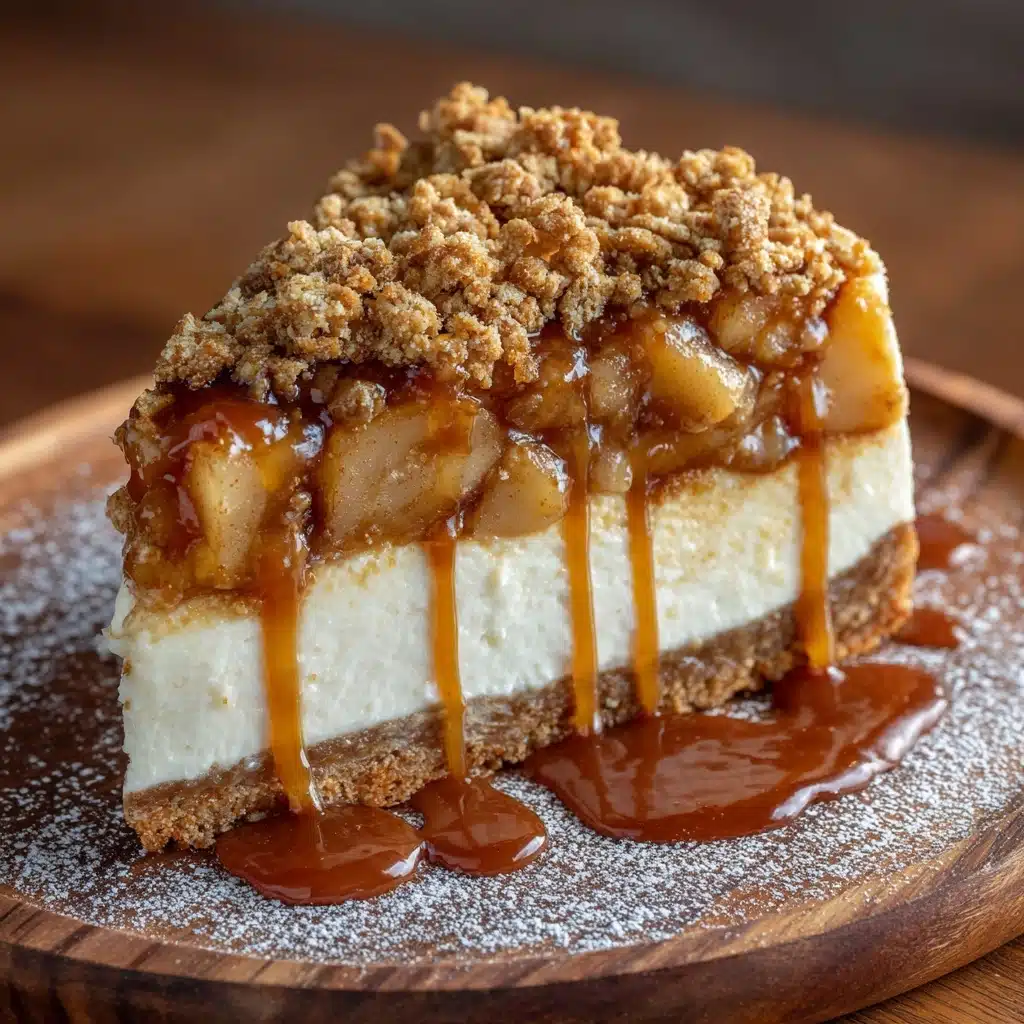
Step 7: Add the Salted Caramel Finale
Before serving, liberally pour salted caramel sauce over the entire cheesecake, encouraging it to cascade down the sides. For true caramel lovers, have extra on the side for drizzling. If you adore that sweet-salty pop, sprinkle on a touch of flaky sea salt right before slicing. Each serve is pure, irresistible bliss!
How to Serve Salted Caramel Apple Pie Cheesecake
Garnishes
The finishing touches really bring your Salted Caramel Apple Pie Cheesecake to life! A drizzle of extra salted caramel sauce is non-negotiable for that glossy, showy effect. Sprinkle a bit of flaky sea salt for a dazzling crunch and flavor contrast. If you’re feeling extra festive, consider adding a few thin apple slices or a light dusting of cinnamon for bonus flair.
Side Dishes
This rich, creamy dessert shines all on its own, but pairing is an art! Try offering guests coffee or hot spiced cider—those warming notes complement the apples and caramel perfectly. Or, serve alongside a scoop of vanilla bean ice cream for the ultimate indulgent treat. Even a bowl of fresh berries can brighten things up and keep the focus on the stars of the show.
Creative Ways to Present
Take your Salted Caramel Apple Pie Cheesecake presentation up a notch by slicing with a hot, clean knife for sharp lines. For gatherings, cut into bite-sized bars or mini squares for a cute twist. Or, build individual cheesecakes in small mason jars—layer the crust, filling, apples, and caramel, then top with a lid for adorable, portable desserts everyone will love.
Make Ahead and Storage
Storing Leftovers
Salted Caramel Apple Pie Cheesecake keeps wonderfully in the fridge. Simply cover the pan tightly with plastic wrap or transfer individual slices to an airtight container. It’ll stay fresh for up to five days—if it isn’t devoured before then!
Freezing
If you want to save slices for later or prep ahead, this cheesecake freezes well. Freeze the cooled, undecorated cheesecake (without caramel sauce) tightly wrapped in two layers of plastic wrap, then in foil. Defrost overnight in the fridge and add caramel just before serving for fresh flavor.
Reheating
This cheesecake is best enjoyed chilled or at cool room temperature, but if you prefer a just-slightly warm slice, pop it in the microwave for 10-15 seconds. The caramel will get beautifully gooey, but take care not to overheat or you might lose that creamy texture.
FAQs
Can I use a different type Dessert
Absolutely! Granny Smith apples are the classic choice because they stay firm and tart, but Honeycrisp or Braeburn also work well if you want a slightly sweeter note. Avoid apples that turn mushy when baked, like Red Delicious.
Is it okay to use store-bought caramel sauce?
Yes, store-bought caramel sauce is totally acceptable—just choose a high-quality brand for the richest flavor. If you want to go the extra mile, homemade salted caramel certainly makes it extra special but is by no means required.
What’s the best way to prevent cracks in my cheesecake?
Letting your cheesecake cool slowly in the oven with the door cracked is the best trick to prevent cracks. Also, be sure not to overbake; the center should still have a little jiggle.
Can this Salted Caramel Apple Pie Cheesecake be made gluten-free?
Definitely! Just swap the graham crackers for a gluten-free variety or use your favorite gluten-free cookie. Double-check that all other ingredients (especially caramel) are certified gluten-free, and you’re set!
How far in advance can I make this dessert?
You can prepare Salted Caramel Apple Pie Cheesecake up to two days in advance. The flavors mingle and deepen beautifully as it chills, so making it ahead will only improve its taste and texture.
Final Thoughts
If you’re looking for a dessert that checks all the boxes—comforting, impressive, and incredibly delicious—I can’t recommend this Salted Caramel Apple Pie Cheesecake enough. It brings everything you love about cozy fall desserts into one unforgettable slice. Gather your ingredients, invite someone over, and dive in. You’ll be so glad you did!
Print
Salted Caramel Apple Pie Cheesecake Recipe
- Total Time: 6 hours 30 minutes (including chilling)
- Yield: 12 servings 1x
- Diet: Non-Vegetarian
Description
Indulge in the ultimate dessert fusion with this Salted Caramel Apple Pie Cheesecake. A buttery graham cracker crust, creamy cheesecake layer, spiced apple pie filling, and a decadent salted caramel topping come together in this show-stopping treat.
Ingredients
For the Crust:
- 1 1/2 cups graham cracker crumbs
- 1/4 cup granulated sugar
- 1/2 cup unsalted butter (melted)
For the Cheesecake Layer:
- 24 oz cream cheese (softened)
- 3/4 cup granulated sugar
- 3 large eggs
- 1 teaspoon vanilla extract
- 1/2 cup sour cream
For the Apple Pie Layer:
- 3 medium apples (peeled, cored, diced)
- 2 tablespoons butter
- 1/4 cup brown sugar
- 1/2 teaspoon cinnamon
- 1/4 teaspoon nutmeg
- pinch of salt
For the Topping:
- 1/2 cup salted caramel sauce (plus more for drizzling)
- flaky sea salt (optional for garnish)
Instructions
- Preheat the oven to 325°F (163°C) and grease a 9-inch springform pan. In a bowl, combine graham cracker crumbs, sugar, and melted butter. Press into the bottom of the pan to form a firm crust. Bake for 10 minutes, then set aside to cool.
- In a skillet over medium heat, melt butter and add diced apples, brown sugar, cinnamon, nutmeg, and a pinch of salt. Cook for 5–7 minutes until apples are tender but not mushy. Remove from heat and let cool.
- In a large mixing bowl, beat cream cheese until smooth. Add sugar and beat until fluffy. Mix in eggs one at a time, then add vanilla and sour cream. Pour the cheesecake filling over the baked crust and smooth the top. Gently spoon the cooked apples over the cheesecake layer.
- Bake for 50–60 minutes, or until the center is just set. Turn off oven, crack the door, and let cheesecake cool inside for 1 hour. Then refrigerate for at least 4 hours or overnight.
- Before serving, pour salted caramel sauce over the top and sprinkle with a pinch of flaky sea salt if desired. Slice and serve chilled.
Notes
- Use tart apples like Granny Smith for best flavor.
- You can make this cheesecake a day ahead—it holds up beautifully and tastes even better after chilling.
- Prep Time: 30 minutes
- Cook Time: 60 minutes
- Category: Dessert
- Method: Baking
- Cuisine: American
Nutrition
- Serving Size: 1 slice
- Calories: 480
- Sugar: 36g
- Sodium: 320mg
- Fat: 31g
- Saturated Fat: 17g
- Unsaturated Fat: 12g
- Trans Fat: 0g
- Carbohydrates: 42g
- Fiber: 1g
- Protein: 6g
- Cholesterol: 115mg

