Brownie Bottom Cheesecake Recipe
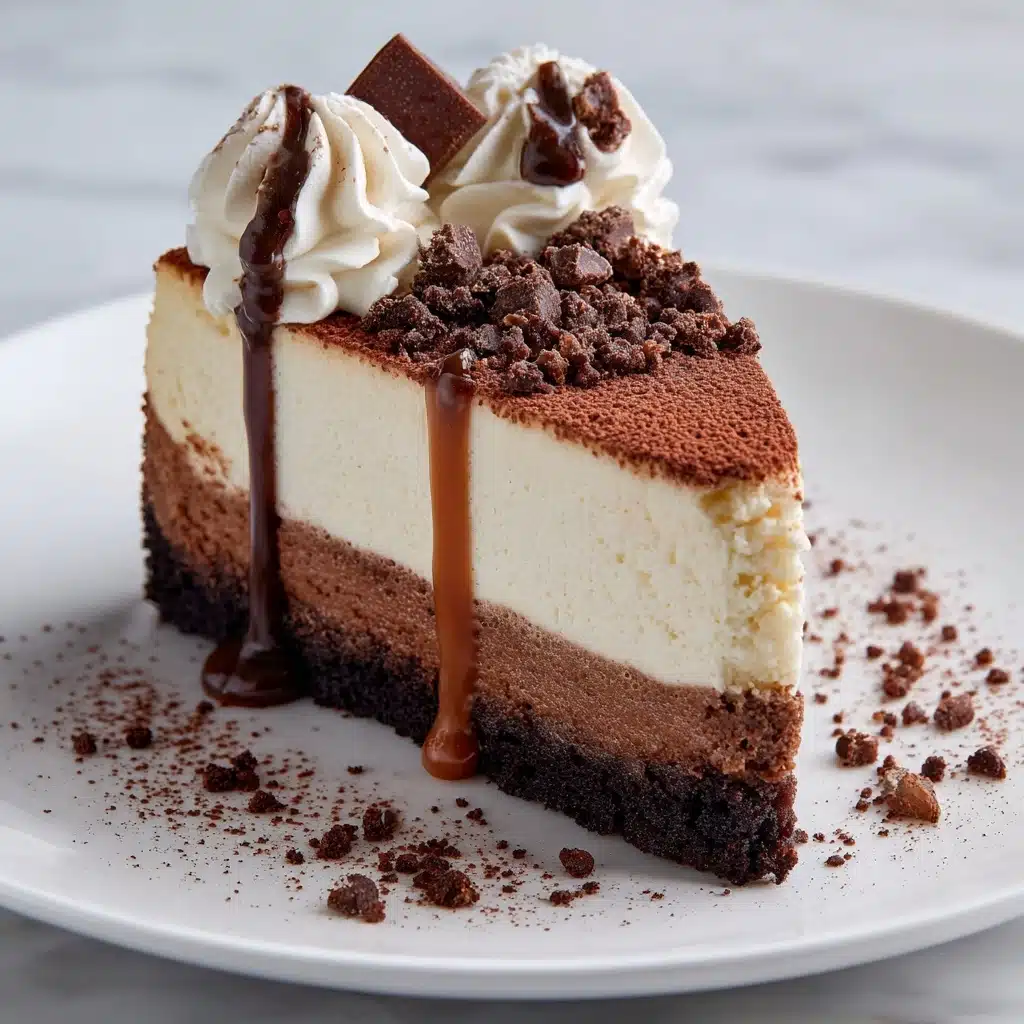
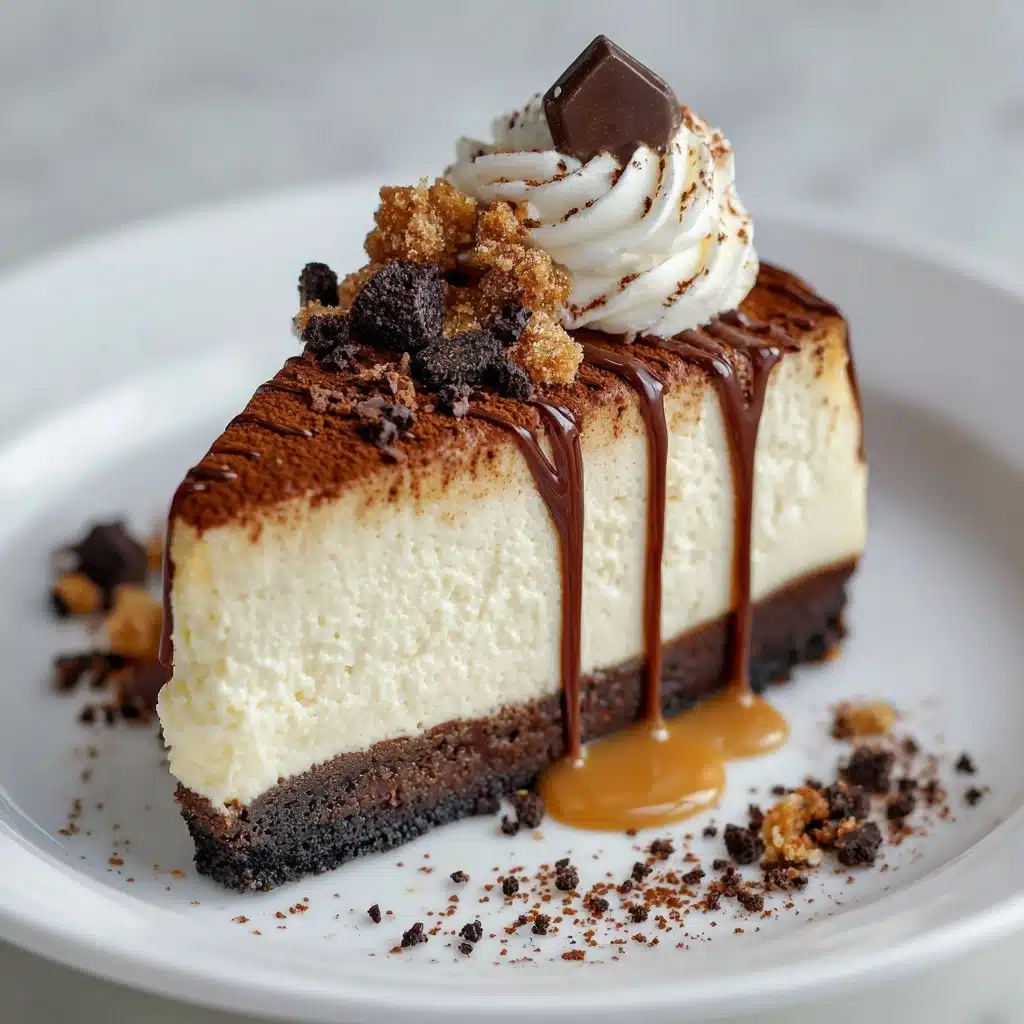
If you’re searching for a dessert that is as jaw-dropping as it is irresistible, this Brownie Bottom Cheesecake will absolutely sweep you off your feet. Imagine dense, fudgy brownie forming the foundation, crowned by a creamy, dreamy cheesecake layer – every bite is the best of both dessert worlds! This Brownie Bottom Cheesecake isn’t just delicious; it’s surprisingly straightforward to make and guaranteed to impress at any gathering.
Ingredients You’ll Need
Let’s break down what you’ll need to make Brownie Bottom Cheesecake shine! Each ingredient is fundamental – from creating the rich chocolate base to achieving that signature tangy cheesecake finish – and together, they create the most harmonious textures and flavors.
- Unsalted butter, melted: Gives the brownie layer its luscious, fudgy texture and richness.
- Granulated sugar (for both layers): Sweetens both the brownie and cheesecake, balancing the creaminess and chocolate intensity.
- Large eggs (4 total): Essential for structure and silkiness in both layers.
- Vanilla extract (for both layers): Enhances flavors and adds wonderful warmth.
- Unsweetened cocoa powder: Your ticket to that deep, bittersweet chocolate base.
- All-purpose flour: Just enough to hold the brownie layer together without losing that decadence.
- Salt: A pinch brings all the flavors into perfect harmony.
- Baking powder: Adds a subtle lift to the brownie crust so it’s not overly dense.
- Cream cheese, softened: The undeniable star of the creamy, tangy cheesecake layer – room temperature is a must for smoothness!
- Optional toppings: Think chocolate ganache, whipped cream, or gorgeous fresh berries for a final flourish!
How to Make Brownie Bottom Cheesecake
Step 1: Prep Your Pan and Oven
Preheat your oven to 350°F (175°C) and get a 9-inch springform pan ready. Line the base with parchment paper and give the sides a light greasing. This will make releasing your masterpiece later completely hassle-free and keep those gorgeous layers intact.
Step 2: Make the Brownie Base
In a mixing bowl, stir together the melted butter and granulated sugar for the ultimate glossy sheen. Whisk in your eggs and vanilla extract until everything’s gloriously smooth. Now, gently fold in cocoa powder, flour, salt, and baking powder just until combined – stop as soon as you see no more flour to keep that brownie tender. Pour the batter into your prepared pan and spread it out evenly.
Step 3: Bake the Brownie Layer
Slide the pan into the oven and bake the brownie base for 15 minutes. You’re not aiming for a fully baked brownie here – just enough so it forms a chewy crust that will stand up to the cheesecake magic on top. Let it cool slightly once out of the oven (about 5–10 minutes).
Step 4: Prepare the Cheesecake Layer
Next, beat the softened cream cheese together with the sugar in a fresh bowl until velvety and lump-free (scrape down the sides if you need to). Add the eggs one at a time, beating between each addition for that signature creaminess. Finally, stir in the vanilla extract to tie everything together. This is your rich, tangy crown fit for the brownie base!
Step 5: Layer and Bake
Pour the cream cheese mixture gently over your slightly cooled brownie base. Smooth the top with a spatula so it looks bakery-level perfect. Bake for 35 to 40 minutes – you’ll know it’s done when the center is set but still has a gentle jiggle. Resist opening the oven door too often for best results.
Step 6: Cool Gradually
Turn off the oven, crack the oven door open, and let the cheesecake cool inside for 1 hour. This little trick prevents cracks and delivers that ultra-silky texture you crave in Brownie Bottom Cheesecake. Afterward, transfer to the fridge and chill for at least 4 hours (or overnight if you’re prepping ahead).
Step 7: Add Toppings and Serve
Once fully chilled, loosen the springform edge and set your Brownie Bottom Cheesecake free. Dress it up however your heart desires – a glossy chocolate ganache, clouds of whipped cream, or a heap of fresh berries – and get ready to wow your taste buds!
How to Serve Brownie Bottom Cheesecake
Garnishes
For a swoon-worthy finish, top your Brownie Bottom Cheesecake with a silky chocolate ganache drizzle or piped swirls of whipped cream. Fresh strawberries, raspberries, or blueberries not only add a pop of color but bring a bright contrast to the richness beneath. For added drama, sprinkle chocolate shavings or a dusting of cocoa on top!
Side Dishes
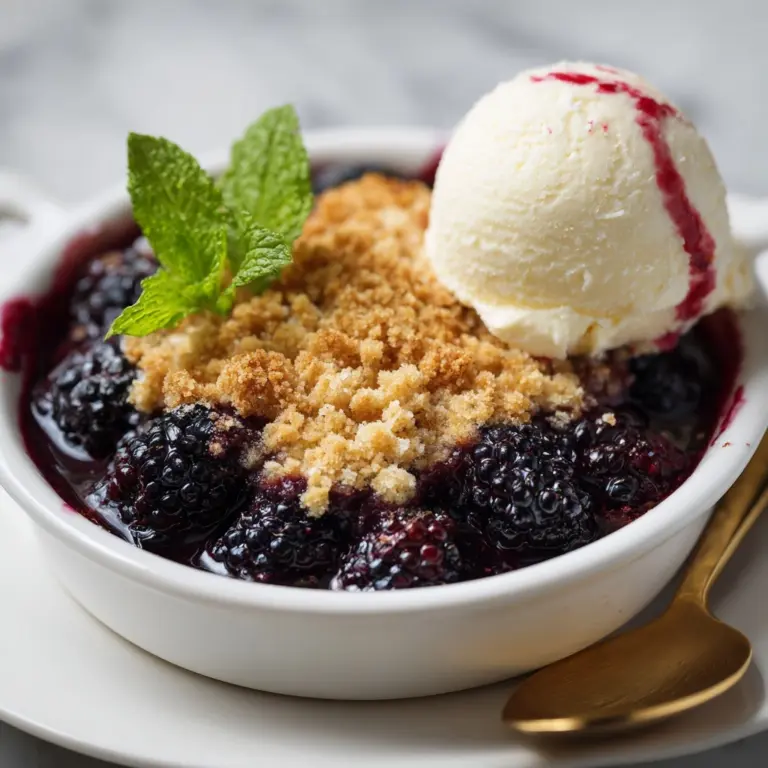
Since the Brownie Bottom Cheesecake is a showstopper, keep your sides simple and refreshing. Pair it with bowls of lightly sweetened berries, a fruit salad, or even small glasses of cold milk or coffee. The fruity freshness or subtle bitterness will highlight every decadent bite.
Creative Ways to Present
Elevate your dessert table by serving individual mini Brownie Bottom Cheesecakes in mason jars or ramekins. For dinner parties, cut the cheesecake into dainty squares and serve on a platter with assorted toppings on the side, letting each guest decorate their own slice. You can also drizzle plates with raspberry coulis or chocolate sauce for a restaurant-style finish.
Make Ahead and Storage
Storing Leftovers
Any leftover Brownie Bottom Cheesecake should be kept covered in the refrigerator. It stays delightfully fresh for up to five days, just make sure it’s tightly wrapped or stored in an airtight container to prevent it from drying out or picking up fridge odors. The flavors will develop and become even more delicious!
Freezing
For longer storage, freeze individual slices (or the whole cheesecake if you’re planning ahead for a party). Wrap each slice well in plastic wrap and then in foil, or place in a freezer-safe container. Thaw overnight in the fridge when ready to enjoy – the texture and flavor hold up wonderfully.
Reheating
While Brownie Bottom Cheesecake is best enjoyed chilled, if you prefer a slightly warmer brownie layer, let your slice rest at room temperature for 10-15 minutes before serving. Avoid microwaving as it can affect the cheesecake’s creamy texture. A warmed knife makes for picture-perfect slices every time!
FAQs
Can I make Brownie Bottom Cheesecake without a springform pan?
Yes! While a springform pan makes serving easier, you can use a regular 9-inch round cake pan lined with parchment. Just be extra gentle when lifting out the cheesecake and consider leaving an overhang of parchment for easy removal.
How do I prevent cracks in my cheesecake layer?
Make sure not to overmix the cheesecake batter and always bake at the recommended temperature. Cooling the Brownie Bottom Cheesecake slowly in the oven with the door cracked open is key to preventing cracks and ensuring a smooth, creamy finish.
Can I add mix-ins or flavor twists?
Absolutely! Swirl some peanut butter or caramel into the cheesecake layer for a new flavor kick, or stir chopped nuts or chocolate chips into the brownie base for extra texture. Let your creativity shine!
What’s the best way to cut neat slices?
Run a sharp knife under hot water, wipe it dry, and slice. Repeat between each cut for bakery-worthy, clean edges that show off those stunning layers of Brownie Bottom Cheesecake.
How early can I make Brownie Bottom Cheesecake?
You can make this dessert up to two days ahead. The flavors deepen and mellow as it chills, making it a perfect make-ahead treat for parties or special occasions. Just add your toppings right before serving.
Final Thoughts
If you love the sound of brownies meeting cheesecake in perfect harmony, you owe it to yourself to try this Brownie Bottom Cheesecake soon. It’s guaranteed to delight guests, satisfy chocolate lovers, and add a touch of wow to any gathering!
Print
Brownie Bottom Cheesecake Recipe
- Total Time: 1 hour 15 minutes
- Yield: 12 slices 1x
- Diet: Vegetarian
Description
Indulge in the ultimate dessert with this Brownie Bottom Cheesecake recipe. A decadent brownie base topped with a creamy cheesecake layer, this dessert is a true crowd-pleaser.
Ingredients
For the brownie base:
- 1/2 cup unsalted butter, melted
- 1 cup granulated sugar
- 2 large eggs
- 1 teaspoon vanilla extract
- 1/3 cup unsweetened cocoa powder
- 1/2 cup all-purpose flour
- 1/4 teaspoon salt
- 1/4 teaspoon baking powder
For the cheesecake layer:
- 16 oz cream cheese, softened
- 1/2 cup granulated sugar
- 2 large eggs
- 1 teaspoon vanilla extract
Optional toppings:
- chocolate ganache
- whipped cream
- fresh berries
Instructions
- Preheat the oven: Preheat the oven to 350°F (175°C). Line a 9-inch springform pan with parchment paper and grease the sides.
- Mix brownie base: In a bowl, combine melted butter and sugar. Add eggs and vanilla, then mix in cocoa powder, flour, salt, and baking powder.
- Bake brownie base: Pour batter into pan and bake for 15 minutes. Cool slightly.
- Prepare cheesecake layer: Beat cream cheese and sugar until smooth. Add eggs one at a time, then mix in vanilla.
- Layer and bake: Pour cheesecake mixture over brownie layer. Bake for 35–40 minutes until set. Cool in the oven, then refrigerate for at least 4 hours.
- Serve: Add desired toppings before serving.
Notes
- Ensure cream cheese is at room temperature for a smooth mixture.
- For easier slicing, warm the knife under hot water between cuts.
- Prep Time: 20 minutes
- Cook Time: 55 minutes
- Category: Dessert
- Method: Baking
- Cuisine: American
Nutrition
- Serving Size: 1 slice
- Calories: 360
- Sugar: 26g
- Sodium: 150mg
- Fat: 24g
- Saturated Fat: 14g
- Unsaturated Fat: 8g
- Trans Fat: 0g
- Carbohydrates: 32g
- Fiber: 1g
- Protein: 6g
- Cholesterol: 95mg


