Christmas Red Velvet Poke Cake Recipe
If you’re looking for a show-stopping holiday dessert that’s as easy as it is festive, the Christmas Red Velvet Poke Cake is an absolute must-try. This luscious treat starts with a classic red velvet cake, gets drenched in sweetened condensed milk for irresistible moisture, and is crowned with a dreamy cream cheese whipped topping. Finished with a blizzard of sprinkles or crushed peppermint, it’s a guaranteed crowd-pleaser at any Christmas gathering. Trust me, your guests will be asking for the recipe before they’ve even finished their slice!

Ingredients You’ll Need
Every ingredient in this recipe has a starring role in creating the signature flavor and look of Christmas Red Velvet Poke Cake. From the vibrant red cake base to the fluffy topping and festive decorations, you’ll find that each component is both simple and absolutely essential.
- Red velvet cake mix: The shortcut to a perfectly fluffy, moist, and vibrantly colored base that’s ready in a snap.
- Eggs, oil, and water: These are the magic trio that brings the cake mix together, ensuring the right texture and lift.
- Sweetened condensed milk: This soaks into the poked cake, adding a rich, creamy sweetness and keeping every bite moist.
- Cream cheese (softened): The foundation for that classic tangy-sweet frosting you expect from anything red velvet.
- Whipped topping (Cool Whip): Folds into the cream cheese for a light, airy topping that’s easy to spread and irresistibly fluffy.
- Powdered sugar: Adds the perfect touch of sweetness to the cream cheese layer without any grittiness.
- Vanilla extract: Just a teaspoon brings a beautiful warmth and rounds out all the flavors in the topping.
- Festive sprinkles or crushed peppermint: The finishing touch that turns this cake into a Christmas masterpiece—feel free to get creative here!
How to Make Christmas Red Velvet Poke Cake
Step 1: Bake the Red Velvet Cake
Start by preheating your oven to 350°F and prepping a 9×13-inch baking pan as directed on your cake mix box. Mix up the red velvet cake batter using the eggs, oil, and water, then pour it into the pan. Bake according to the package instructions until a toothpick comes out clean. Let it cool for about 10 minutes—just until it’s warm enough to handle the next step.
Step 2: Poke and Soak
While the cake is still warm, grab the handle of a wooden spoon (or something similar) and poke holes all over the surface, about an inch apart. Take your time pouring the sweetened condensed milk slowly over the cake, making sure it seeps into every single hole. This step is the secret to that ultra-moist, melt-in-your-mouth texture that makes Christmas Red Velvet Poke Cake so irresistible.
Step 3: Chill the Cake
Allow the cake to cool completely at room temperature, then pop it in the fridge for at least one hour. This gives the flavors time to meld and the condensed milk to soak in fully, setting the stage for that luscious topping.
Step 4: Make the Cream Cheese Topping
In a medium bowl, beat the softened cream cheese until it’s smooth and creamy. Add powdered sugar and vanilla extract, mixing until everything is well combined. Gently fold in the thawed whipped topping—this creates a light, fluffy cloud that you’ll want to eat by the spoonful!
Step 5: Top and Decorate
Spread the cream cheese topping evenly over the chilled cake, covering every inch. Then, get festive! Sprinkle with holiday sprinkles, crushed peppermint, or even red and green candies for a whimsical finish. For extra flair, try a drizzle of melted white chocolate or a swirl of food coloring in the frosting.
Step 6: Chill and Serve
Chill the finished cake for another 30 minutes to let the topping set. When you’re ready to serve, slice generous squares and watch everyone’s eyes light up!
How to Serve Christmas Red Velvet Poke Cake

Garnishes
The fun is in the decorating! Go for a scatter of red, green, and white sprinkles, a dusting of crushed peppermint, or even some sparkly edible glitter. If you’re feeling extra creative, pipe little rosettes of whipped cream around the edges or add a drizzle of white chocolate for a touch of elegance. The garnishes turn this cake into a true Christmas centerpiece!
Side Dishes
This cake is rich and festive, so it pairs beautifully with light, fresh sides. Try serving it with a bowl of juicy berries, a platter of orange slices, or a refreshing minty fruit salad. If you want to go all out, a mug of hot cocoa or a glass of chilled milk is the perfect partner to each slice.
Creative Ways to Present
For a party, cut the cake into bite-sized squares and arrange them on a tiered dessert tray. Or, use a round cutter to make mini poke cake circles and serve in cupcake liners for individual treats. You can even layer slices in clear cups with extra whipped topping for a fun parfait-style dessert—everyone will love the colorful layers!
Make Ahead and Storage
Storing Leftovers
To keep your Christmas Red Velvet Poke Cake fresh, simply cover the pan tightly with plastic wrap or foil and store it in the refrigerator. It’ll stay moist and delicious for up to 4 days—if it lasts that long!
Freezing
You can absolutely freeze this cake! For best results, freeze the cake (with or without the topping) wrapped well in plastic and foil. Thaw overnight in the fridge, then add garnishes just before serving for the freshest look and taste.
Reheating
This cake is best enjoyed chilled or at room temperature, so there’s no need to reheat. If you prefer it slightly warmer, let it sit out for 10 to 15 minutes before serving. The flavors and textures are just perfect this way!
FAQs
Can I use homemade red velvet cake instead of a box mix?
Absolutely! If you have a favorite homemade red velvet cake recipe, feel free to use it. Just make sure it fits a 9×13-inch pan, and follow the same steps for poking and soaking with sweetened condensed milk.
What can I use instead of Cool Whip in the topping?
If you prefer a more natural option, you can use homemade whipped cream stabilized with a little extra powdered sugar. Just be sure to fold it gently into the cream cheese so the topping remains light and fluffy.
How far in advance can I make Christmas Red Velvet Poke Cake?
This cake is perfect for making ahead! Prepare it up to one day in advance, keep it covered in the fridge, and add your garnishes just before serving for the freshest results.
Can I add mix-ins to the cake batter?
Definitely! Chopped pecans, mini chocolate chips, or even a handful of crushed peppermint candies can be folded into the batter before baking for a fun twist on the classic.
Is Christmas Red Velvet Poke Cake vegetarian?
Yes, this cake is vegetarian, as it contains no meat or gelatin. Just be sure to check the specific brands of cake mix and whipped topping if you have dietary concerns.
Final Thoughts
There’s something magical about sharing a homemade dessert during the holidays, and this Christmas Red Velvet Poke Cake truly captures the spirit of the season. Give it a try, and don’t be surprised if it becomes a new family tradition—one slice and everyone will be asking for it year after year!
Print
Christmas Red Velvet Poke Cake Recipe
- Total Time: 1 hour 45 minutes
- Yield: 12 servings 1x
- Diet: Vegetarian
Description
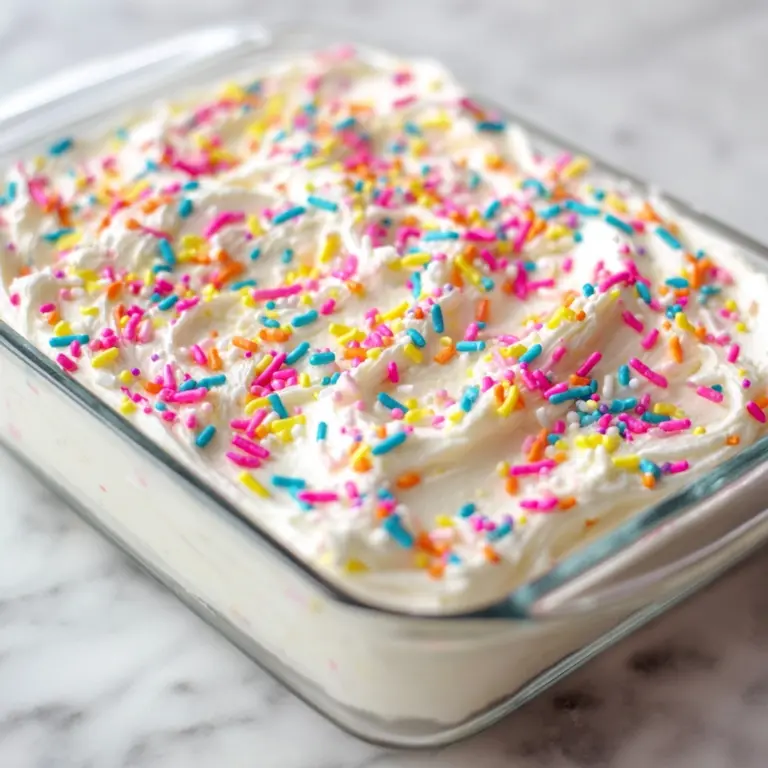
This festive Christmas Red Velvet Poke Cake is a delightful holiday dessert featuring moist red velvet cake soaked with sweetened condensed milk and topped with a creamy, fluffy cream cheese frosting. Decorated with colorful sprinkles or crushed peppermint, it’s the perfect sweet treat to celebrate the season.
Ingredients
Cake
- 1 box red velvet cake mix (plus ingredients listed on the box: eggs, oil, water)
- 1 (14-ounce) can sweetened condensed milk
Topping
- 1 (8-ounce) package cream cheese, softened
- 1 (8-ounce) tub whipped topping (such as Cool Whip), thawed
- 1/2 cup powdered sugar
- 1 teaspoon vanilla extract
- Festive sprinkles or crushed peppermint for topping
Instructions
- Preheat and Bake: Preheat your oven to 350°F. Prepare a 9×13-inch baking pan as directed on the cake mix box. Bake the red velvet cake according to the instructions on the box. Once baked, remove it from the oven and let it cool for 10 minutes.
- Poke and Soak: Using the handle of a wooden spoon, poke holes all over the warm cake, spacing them about 1 inch apart. Slowly pour the sweetened condensed milk over the cake, allowing it to seep into the holes. Let the cake cool completely at room temperature, then refrigerate for at least 1 hour.
- Prepare the Topping: In a medium bowl, beat the softened cream cheese until smooth. Add powdered sugar and vanilla extract, beating until the mixture is combined. Gently fold in the whipped topping until the frosting is light and fluffy.
- Frost and Decorate: Spread the cream cheese topping evenly over the chilled cake. Decorate with festive holiday sprinkles, crushed peppermint, or red and green candies. Chill the cake for another 30 minutes to set before slicing and serving.
Notes
- This cake can be made a day in advance and stored covered in the refrigerator for convenience.
- For extra flair, drizzle the top with white chocolate or add a swirl of food coloring in the frosting before spreading.
- Prep Time: 15 minutes
- Cook Time: 30 minutes
- Category: Dessert
- Method: Baking
- Cuisine: American
Nutrition
- Serving Size: 1 slice
- Calories: 390
- Sugar: 34g
- Sodium: 280mg
- Fat: 20g
- Saturated Fat: 10g
- Unsaturated Fat: 8g
- Trans Fat: 0g
- Carbohydrates: 48g
- Fiber: 1g
- Protein: 5g
- Cholesterol: 50mg


