Homemade Crunch Bars Recipe
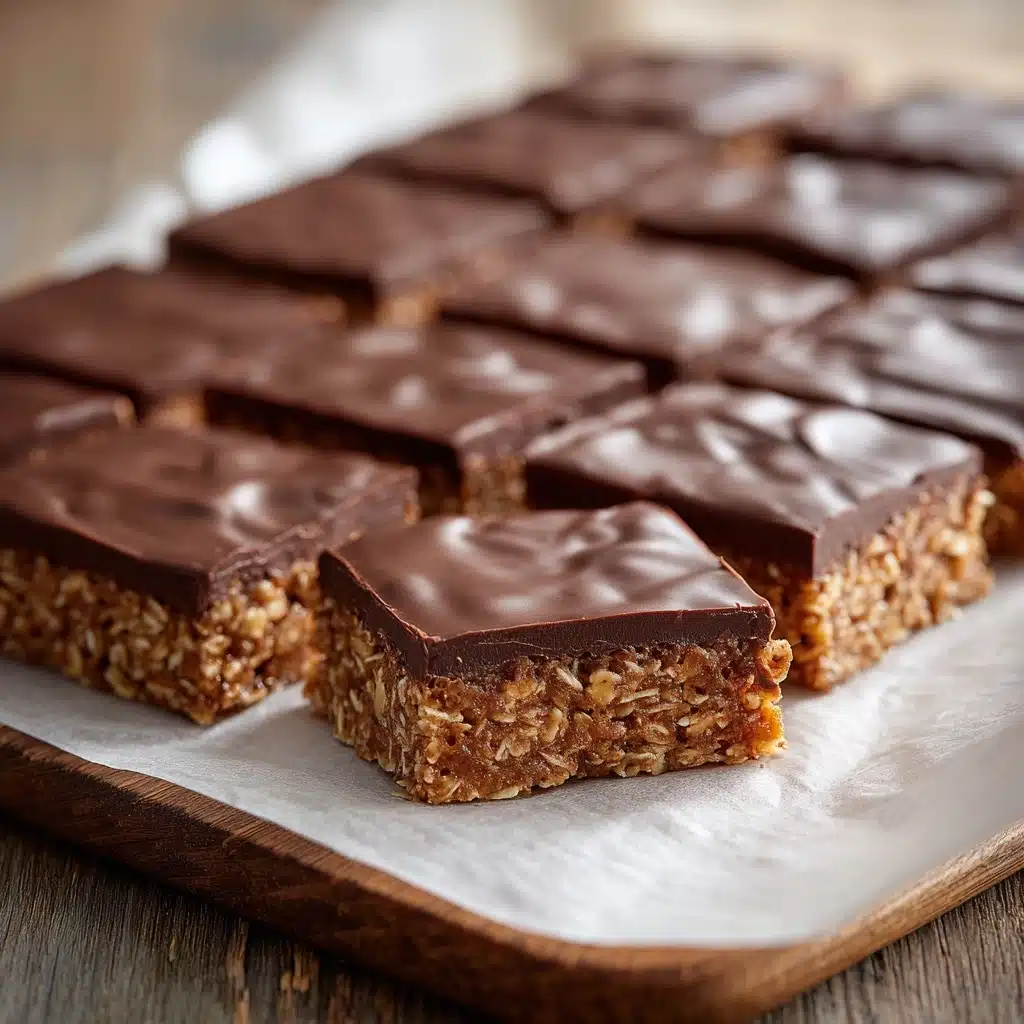
If you’re looking for a treat that’s quick to whip up yet totally irresistible, Homemade Crunch Bars are about to become your new kitchen go-to. Imagine velvety chocolate and creamy peanut butter melted together, hugging every bite of crispy rice cereal, then finished with a sprinkle of flaked sea salt for just the right pop. With only a handful of pantry staples and no baking required, these bars capture everything we love about sweet, simple snacking. They’re perfect for curing a chocolate craving, sharing at a get-together, or sneaking from the fridge on a quiet night in. Best of all, they’re easy to customize for any dietary preference, so nobody misses out! Let’s jump in and make this classic favorite shine right in your own home.
Ingredients You’ll Need
The secret to perfect Homemade Crunch Bars lies in just four everyday ingredients, each pulling their weight to create something truly special. Each brings its own magic: creamy texture, deep chocolatey flavor, feather-light crunch, and, if you wish, a hit of salt that makes every bite sing!
- Semi-sweet chocolate chips: These create the chocolatey base and melt beautifully, making each bite luscious and rich.
- Creamy peanut butter: Adds silkiness and a subtle nuttiness, plus helps the bars set with the perfect chew.
- Crispy rice cereal: The key to that signature light, crispy bite—every crunch bar needs its crunch, after all!
- Flaked sea salt (optional): A final flourish that lifts all the flavors and balances the sweetness. Highly recommended if you love a little contrast.
How to Make Homemade Crunch Bars
Step 1: Prep Your Pan
Start by lining an 8×8-inch baking pan with parchment paper. This is your insurance plan for easy lifting and perfect slicing later—trust me, you’ll thank yourself when the bars pop right out. Let a bit of paper hang over the sides for extra grab-and-go convenience.
Step 2: Melt the Chocolate and Peanut Butter
In a microwave-safe bowl, combine your semi-sweet chocolate chips with the creamy peanut butter. Microwave in 30-second bursts, stirring after each round, just until the mixture is melted, glossy, and smooth. This gentle approach keeps everything silky and prevents scorching.
Step 3: Stir in the Crispy Rice Cereal
Now for the crunch! Gently fold the crispy rice cereal into the melted chocolate-peanut butter mixture. Be tender, so those delicate little puffs remain airy and crisp, giving you that light-as-a-cloud texture in every slice.
Step 4: Spread and Top
Pour the glorious mixture into your lined pan. Use a spatula (or the back of a spoon) to nudge it into all the corners and level off the top. If you adore a sweet-and-salty combo, sprinkle the surface generously with flaked sea salt now—your taste buds will thank you.
Step 5: Chill Until Firm
Slide the pan into the freezer for 15 to 20 minutes. This is when the magic happens: everything sets up into crisp, sliceable bars. Keep an eye out—once they’re firm, they’re ready for action!
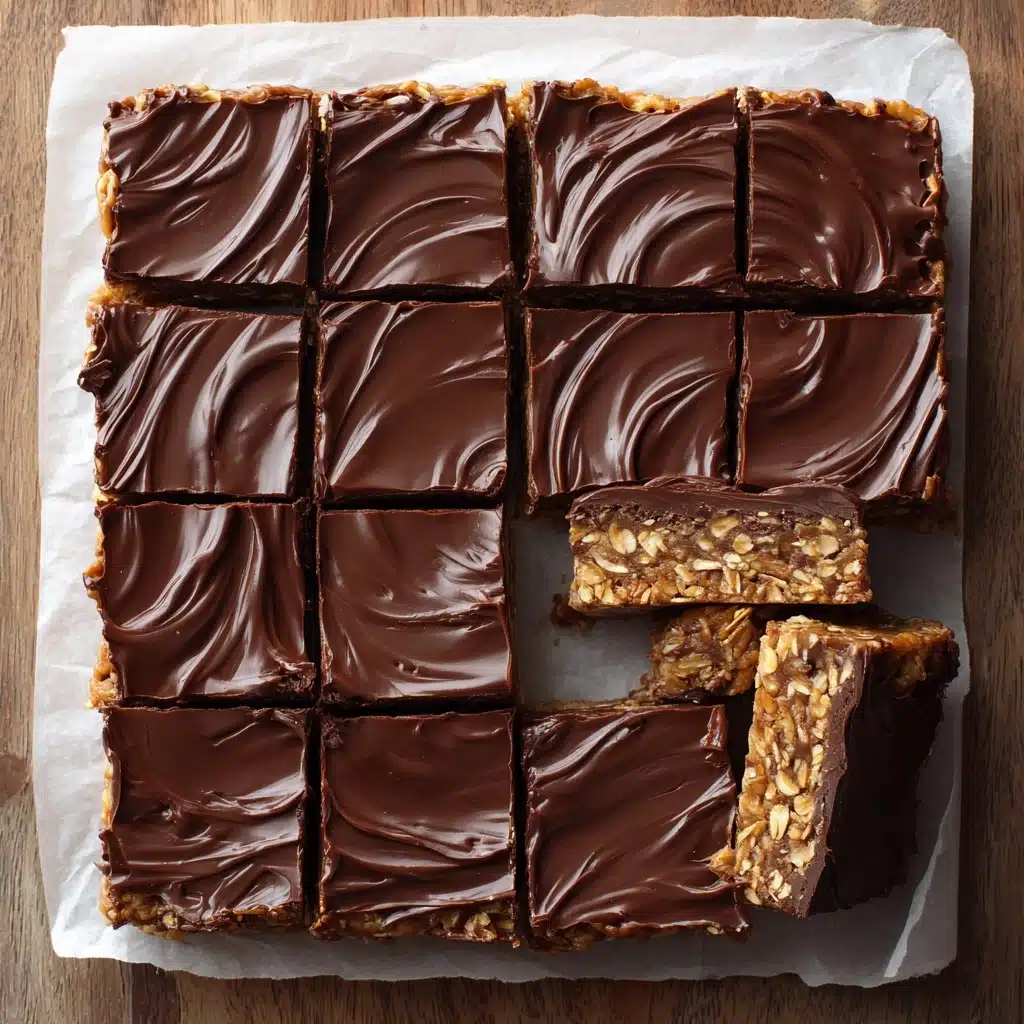
Step 6: Cut and Enjoy
Lift the slab from the pan using the parchment paper edges, place on a cutting board, and slice into bars or squares. Homemade Crunch Bars are ready to enjoy immediately, and trust me, they disappear fast!
How to Serve Homemade Crunch Bars
Garnishes
While the classic look—just a hint of flaked sea salt—is pretty stunning, you can dress up your bars for extra sparkle. Consider a drizzle of melted white chocolate, a scattering of chopped nuts, or a sprinkle of colorful sprinkles if serving to kids. Each garnish adds personality and makes every Homemade Crunch Bar look bakery-worthy.
Side Dishes
Pair these bars with a scoop of vanilla ice cream for a dreamy dessert, or set them out alongside a bowl of fresh berries to lighten things up. For a grown-up touch, tuck them on a platter with coffee or espresso for an unbeatable after-dinner treat.
Creative Ways to Present
For parties or edible gifts, wrap each bar in wax paper and tie with kitchen twine for a rustic vibe. Stack bars in a mason jar for a homespun surprise, or arrange on a decorative platter for your next gathering—the crisp texture and glossy chocolate will steal the show. Homemade Crunch Bars also make fabulous potluck additions; just watch how quickly they vanish!
Make Ahead and Storage
Storing Leftovers
If, by some miracle, you have any bars left, simply store them in an airtight container in the fridge. They’ll stay fresh and snappy for up to a week, which makes Homemade Crunch Bars perfect for grab-and-go snacking or lunchbox treats.
Freezing
Want to keep Homemade Crunch Bars on hand for sudden cravings? Freeze them! Separate layers with parchment paper in a freezer-safe bag or container. They’ll keep beautifully for up to two months—just thaw at room temp for a few minutes before digging in.
Reheating
While there’s no need to reheat these no-bake beauties, you can let refrigerated or frozen bars sit out for 5 to 10 minutes to soften just slightly. This brings out their chewiness without melting away that irresistible crunch.
FAQs
Can I make Homemade Crunch Bars without peanut butter?
Absolutely! Swap in almond butter, cashew butter, or sunflower seed butter for a nut-free version. Each brings a deliciously unique twist, so don’t be afraid to experiment based on your pantry or preference.
Are these bars gluten-free?
Yes, just choose certified gluten-free crispy rice cereal for a totally gluten-free treat. It’s easy to create bars everyone can enjoy, regardless of dietary needs.
Can I use milk or dark chocolate instead of semi-sweet?
You bet! If you want something richer, try dark chocolate chips; for a sweeter bite, go with milk chocolate. Homemade Crunch Bars adapt beautifully to what you love.
Do I have to use a microwave?
No microwave? No problem! Melt the chocolate and peanut butter together gently over a double boiler on the stovetop, stirring until completely smooth before mixing in the cereal.
How can I make these vegan?
Just use vegan chocolate chips and plant-based nut butter. It’s a snap to keep your Homemade Crunch Bars dairy-free and vegan, and they’ll still taste just as luscious and fun.
Final Thoughts
If you’re craving something sweet, simple, and endlessly customizable, you really can’t go wrong with Homemade Crunch Bars. Whether you stick to the classic recipe or make it your own, these bars are pure pleasure in every bite. Give them a try and watch them disappear—friends and family will be begging for your secret recipe!
Print
Homemade Crunch Bars Recipe
- Total Time: 20 minutes (including chilling)
- Yield: 8 bars 1x
- Diet: Vegetarian
Description
Indulge in the irresistible combination of chocolate and peanut butter with these Homemade Crunch Bars. A simple no-bake treat that’s perfect for satisfying your sweet cravings!
Ingredients
Ingredients:
- 1 1/2 cups semi-sweet chocolate chips
- 1/3 cup creamy peanut butter
- 1 cup crispy rice cereal
- Flaked sea salt (optional)
Instructions
- Line the Pan: Line an 8×8-inch baking pan with parchment paper.
- Melt Chocolate: In a microwave-safe bowl, combine chocolate chips and peanut butter. Microwave in 30-second intervals, stirring after each, until melted and smooth.
- Add Cereal: Stir in crispy rice cereal until evenly coated.
- Spread Mixture: Pour the mixture into the prepared pan and spread evenly.
- Add Salt: Sprinkle with flaked sea salt if desired.
- Chill: Freeze for 15–20 minutes until firm.
- Serve: Remove from pan, cut into bars, and serve.
Notes
- For a gluten-free version, use certified gluten-free crispy rice cereal.
- To make dairy-free or vegan, use dairy-free chocolate chips and plant-based nut butter.
- You can swap peanut butter for almond butter, cashew butter, or sunflower seed butter for a nut-free option.
- Prep Time: 5 minutes
- Cook Time: 0 minutes
- Category: Dessert, Snack
- Method: No-Bake
- Cuisine: American
Nutrition
- Serving Size: 1 bar
- Calories: 251
- Sugar: 23 g
- Sodium: 88 mg
- Fat: 14 g
- Saturated Fat: 6 g
- Unsaturated Fat: 4 g
- Trans Fat: 0.1 g
- Carbohydrates: 28 g
- Fiber: 1 g
- Protein: 4 g
- Cholesterol: 5 mg


