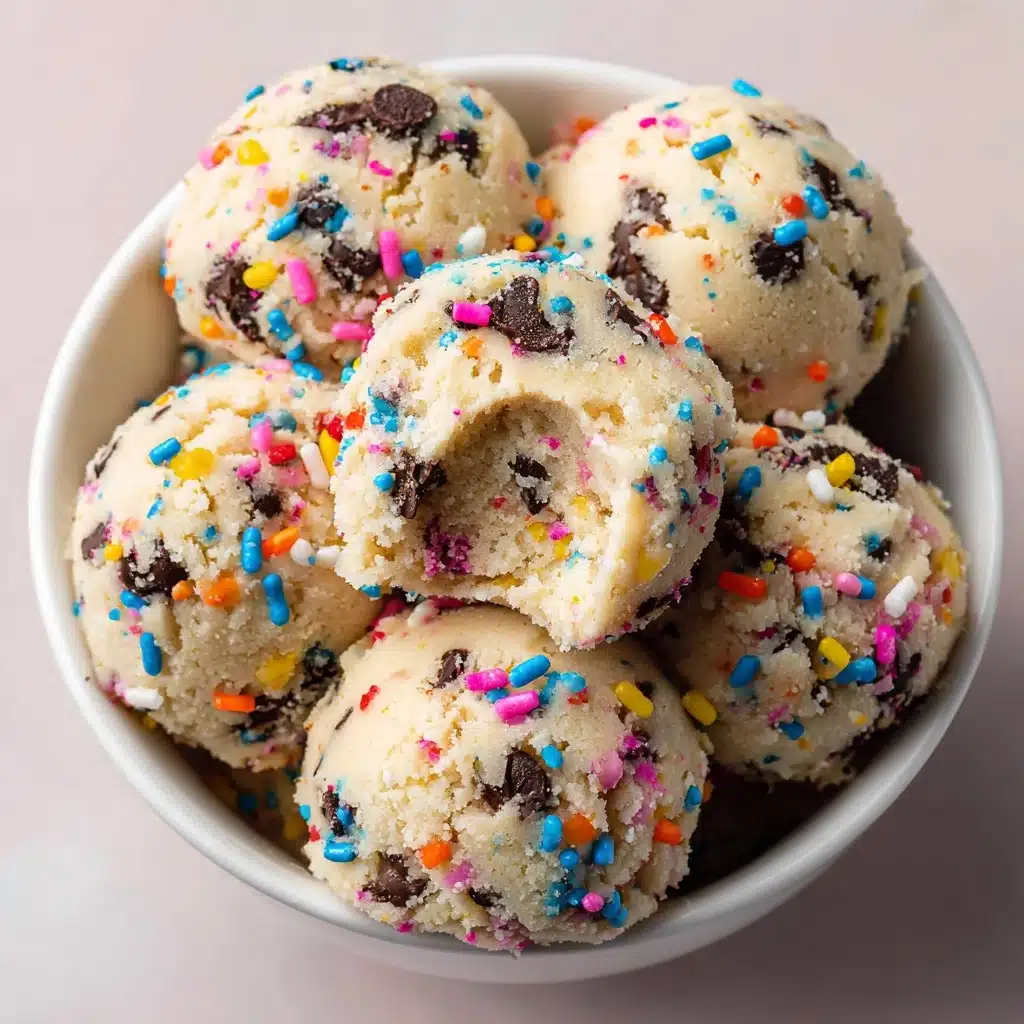
Oat Milk Ice Cream Recipe
If you’re searching for a deliciously creamy, plant-based treat that’s as satisfying as it is simple, Oat Milk Ice Cream is about to become your go-to dessert. This recipe brings together the subtly sweet notes of oat milk with luscious coconut milk and real vanilla, creating an ice cream that’s rich, smooth, and surprisingly easy to whip up at home. As someone who loves to share joy in a bowl, I can promise you this kitchen adventure will have you scooping up second (and third!) helpings long after the first taste.
Ingredients You’ll Need
Gathering your ingredients for Oat Milk Ice Cream is a breeze, and each one plays a special role in the flavor and texture. From the oat milk’s gentle, milky sweetness to the coconut’s silky richness, you’ll notice how each element builds a dessert that’s as beautiful as it is delicious.
- Oat Milk: The star of this recipe, unsweetened oat milk gives the ice cream its characteristic creamy base without overpowering sweetness.
- Full-Fat Coconut Milk: Adds body and velvety texture, making every bite feel rich and decadent.
- Maple Syrup or Agave Nectar: Natural sweeteners add gentle caramel notes; use your favorite for a personal touch.
- Vanilla Extract: A full tablespoon infuses the whole ice cream with that timeless, warm vanilla aroma.
- Cornstarch or Arrowroot Powder (optional): Boosts creaminess and helps your Oat Milk Ice Cream stay soft and scoopable.
- Pinch of Salt: Just a dash to heighten every other flavor and balance the sweetness perfectly.
- Optional Mix-Ins (chocolate chips, nuts, fruit preserves): Make it your own with a swirl of something special for extra bursts of flavor and texture.
How to Make Oat Milk Ice Cream
Step 1: Blend Your Base
Start by whisking together oat milk, rich coconut milk, your maple syrup (or agave), vanilla extract, cornstarch or arrowroot (if using), and that essential pinch of salt in a medium saucepan. This blend sets the flavor and texture for your Oat Milk Ice Cream, ensuring every scoop is smooth and balanced from the first taste to the last.
Step 2: Gently Heat the Mixture
Place the saucepan over medium heat, stirring frequently. In about 5 to 7 minutes, the mixture will start to simmer and thicken just a bit. This step helps activate the cornstarch (if you’re using it), building the creamy mouthfeel that makes homemade Oat Milk Ice Cream irresistible.
Step 3: Cool and Chill
Once your mixture has thickened, remove it from the heat and let it cool to room temperature. Then, pop it in the fridge for at least two hours. This thorough chilling is crucial; it ensures your base is cold enough to churn up into the velvety, rich Oat Milk Ice Cream you’re dreaming of.
Step 4: Churn to Perfection
Pour the chilled mixture into your ice cream maker, then churn according to the manufacturer’s instructions, usually about 20–25 minutes. In the last few minutes, add your choice of chocolate chips, nuts, or swirls of fruit preserves for delightful pockets of flavor in every bite.
Step 5: Freeze and Firm Up
Scoop your freshly-churned Oat Milk Ice Cream into a freezer-safe container. Freeze it for at least 2–4 hours, so it can firm up to the perfect scoopable consistency. When you’re ready to serve, let it sit at room temperature for a few minutes for those dreamy, creamy scoops every time.
How to Serve Oat Milk Ice Cream

Garnishes
A simple scoop of Oat Milk Ice Cream is delightful on its own, but adding toasted coconut flakes, a sprinkle of cinnamon, or a drizzle of extra maple syrup takes it to the next level. If you’re a chocolate lover, a dusting of cocoa nibs or a few ribbons of melted chocolate can add a pretty (and pretty tasty!) finish.
Side Dishes
This ice cream pairs beautifully with fresh berries, a sliced ripe peach, or even warm brownies if you’re in the mood for something truly decadent. For a summer barbecue or family potluck, a bowl alongside grilled stone fruit is pure bliss.
Creative Ways to Present
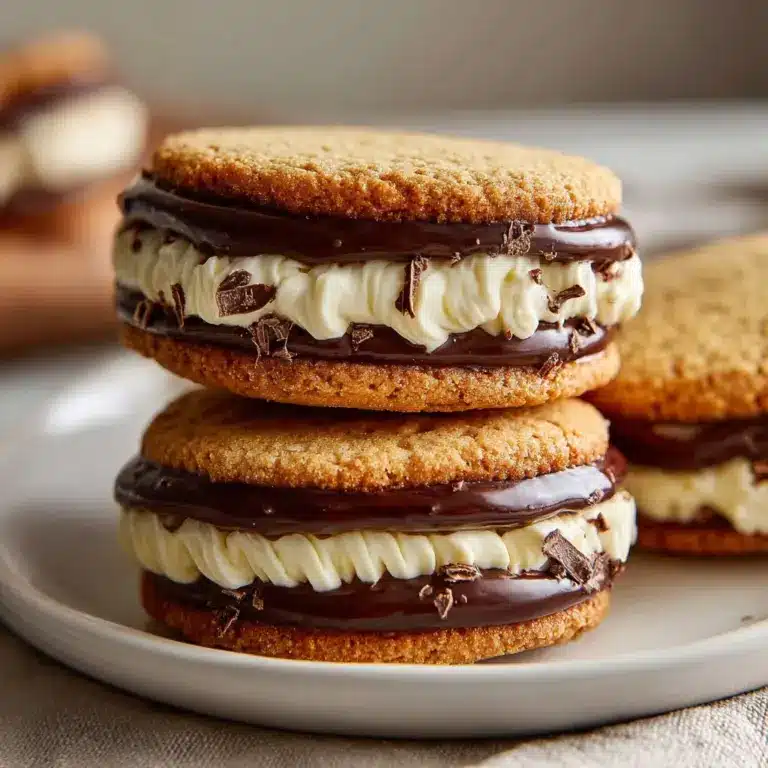
You can get playful by sandwiching a scoop between oatmeal cookies for a homemade ice cream sandwich or spooning it over a vegan crisp or cobbler. For a fun twist at gatherings, set up a DIY sundae bar where guests can choose their favorite toppings and mix-ins, making the Oat Milk Ice Cream experience totally customizable.
Make Ahead and Storage
Storing Leftovers
Transfer any extra Oat Milk Ice Cream into an airtight, freezer-safe container. Press a piece of parchment or wax paper directly onto the surface before sealing the lid to minimize ice crystals and keep it as fresh as possible for a week or more.
Freezing
This ice cream keeps well in the freezer, thanks to its coconut milk and cornstarch base. If it becomes a bit too firm, just let it rest at room temperature for 5–10 minutes before scooping for a perfectly creamy texture every time.
Reheating
While you don’t need to “reheat” ice cream, thawing it slightly on the counter can restore its scoopable, luscious state. Avoid the microwave, as uneven heating can affect the texture and introduce unwanted ice crystals.
FAQs
Can I make Oat Milk Ice Cream without an ice cream maker?
Absolutely! Pour your chilled mixture into a shallow dish, freeze, and stir every 30 minutes until smooth and scoopable. It’s a little more hands-on but totally worth the effort.
Is this recipe fully vegan and dairy-free?
Yes, Oat Milk Ice Cream is completely plant-based and free of any animal products, making it perfect for vegans, those with dairy sensitivities, or anyone looking to cut back on dairy without sacrificing creamy desserts.
Can I add flavors or mix-ins to customize it?
Definitely! Stir in chocolate chips, roasted nuts, or ribbons of fruit preserves in the last few minutes of churning for fun flavor twists. For a chocolate version, try whisking in a quarter cup cocoa powder while heating the base.
Why do I need to chill the base before churning?
Chilling ensures that your ice cream base is as cold as possible before hitting the ice cream maker, which leads to smaller ice crystals and the smooth, creamy texture that makes Oat Milk Ice Cream so special.
How long does homemade Oat Milk Ice Cream last in the freezer?
If stored well in an airtight container, your ice cream can be enjoyed for up to two weeks, although the texture and taste are at their best within the first week.
Final Thoughts
Once you see just how easy and delightful homemade Oat Milk Ice Cream can be, you’ll want to keep a batch ready for every craving, celebration, or sunny afternoon. Give this plant-based treat a try and share the creamy, dreamy results—your tastebuds (and friends!) will thank you.
Print
Oat Milk Ice Cream Recipe
- Total Time: 2 hours 17 minutes
- Yield: 6 servings 1x
- Diet: Vegan
Description
Indulge in a dairy-free, vegan treat with this easy-to-make Oat Milk Ice Cream. Creamy and delicious, this homemade ice cream is a perfect dessert for those looking for a plant-based alternative.
Ingredients
Main Base:
- 2 1/2 cups unsweetened oat milk
- 1/2 cup full-fat coconut milk
- 1/2 cup maple syrup or agave nectar
- 1 tablespoon vanilla extract
- 1 tablespoon cornstarch or arrowroot powder (optional)
- Pinch of salt
Optional Mix-Ins:
- 1/2 cup chocolate chips
- Chopped nuts
- Swirls of fruit preserves
Instructions
- Prepare Base: In a medium saucepan, whisk together oat milk, coconut milk, maple syrup, vanilla extract, cornstarch (if using), and salt. Heat over medium heat until it simmers and thickens, about 5–7 minutes. Cool to room temperature, then refrigerate for at least 2 hours.
- Churn Mixture: Once chilled, churn in an ice cream maker for 20–25 minutes until thick. Add mix-ins during the last few minutes. Freeze for 2–4 hours before serving.
Notes
- If no ice cream maker, freeze base in a dish, stirring every 30 minutes until scoopable.
- For chocolate version, add 1/4 cup cocoa powder while heating the base.
- Prep Time: 10 minutes
- Cook Time: 7 minutes
- Category: Dessert
- Method: Freezing
- Cuisine: American
Nutrition
- Serving Size: 1/2 cup
- Calories: 150
- Sugar: 12g
- Sodium: 50mg
- Fat: 7g
- Saturated Fat: 5g
- Unsaturated Fat: 2g
- Trans Fat: 0g
- Carbohydrates: 19g
- Fiber: 1g
- Protein: 1g
- Cholesterol: 0mg
